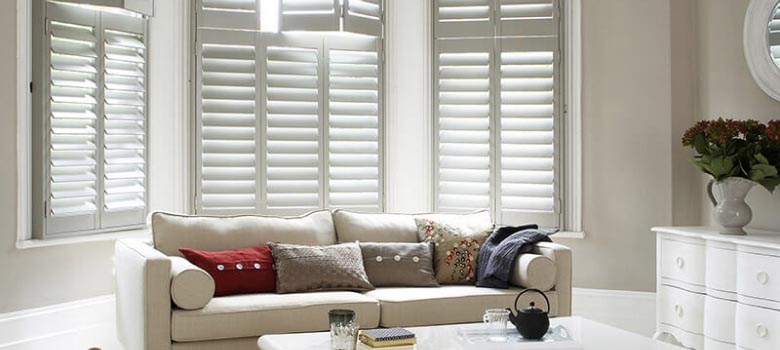
Installing plantation shutters is not quite as easy as it is made out. In fact, it is quite tricky to do, and you have to be really careful with the measurements. There is little as frustrating as ordering the wrong size.
But if you’re still intent on doing it, this guide will run you through all of the steps needed for installing plantation shutters in your home or commercial establishment.
his guide assumes you are working with hinged option. This is for simplicity. The steps for multifold and sliding options will be different, as these types will feature a sliding track on the top.
How hard installing plantation shutters really is?
While the steps might seem simple (and we tried to make them as easy to follow as you’ll see below), it’s hard installing plantation shutters in the right way across all windows so they are flush.
If you’re off by a few millimetres in measurements, it will result in annoying gaps, and you’ll wish that you hired an expert to do it. Correct measurements are key, and you’ll need a friend or helper to install heavier window treatment. The good news is that DIY kits are available so the frame is easily assembled.
PRO TIP: If your window is not a square or rectangle, then you’ll be getting custom-made option. And if you are getting custom-made window coverings, then you’ll almost certainly need professional help. And we’re pros at installing plantation shutters.
How long does installing plantation shutters take?
This will vary depending on the type, but it should take around one hour to install a plantation shutter per window. This assumes a single panel on a window, not a giant window with 4-8 panels!
Installing plantation shutters will take a while if you have many windows or are new to the task. If you have a window with a strange design or custom build, then it can take up to three hours.
Tools for installing plantation shutters
If you want to install hinged window treatment yourself, then you will need the following tools at a minimum:
- Pencil
- Measuring tape
- Level
- Screwdriver or power drill with hex driver and drill bit
- Step ladder
- Hammer
Plantation shutters installation: step by step
To make things as simple as possible, we have broken down the procedures for the installing plantation shutters into a series of simple steps. Obviously, there is going to be some variation depending on your exact type, but the adaptations you make to the below will typically only be minor.
The steps are pretty much the same for both interior and exterior options. However, they are relevant for internal option and have assumed you’ve already received your high-quality window coverings with the right measurements.
Step #1 – Assembly
The first step is to assemble the frame. This should be relatively straightforward, and the manufacturer will have provided instructions. There will be pre-routed slots located on the back of each frame. Your frame is now assembled. Hooray!
Step #2 – Centre and screw
Level and centre the frame to the inside of the window. If you’re using hanging strips, ensure that you hang them so the panels are flush to the wall. When centred, screw the coverings to the wall through the pre-drilled holes. Often, this will be in the top left, top right, and top centre.
Step #3 – Install the panel
The frame is now attached, levelled, and secure. You will now attach the panel by inserting the provided hinge pins. Test to see that there are no gaps between the panels. You can move the side frames over and back to adjust this if you do see some gaps.
Step #4 – Secure the shutters
Now that everything is secure and even without gaps, you can use additional screws for security. Again, there are pre-drilled holes in the coverings for this. These will be found along the sides and bottom.
Step #5 – Install the button catch
Place the button catch on the lip of the window frame, about 6mm from the stile. The catch can then be screwed into the frame.
Step #6 – Install the strike plate and button
After you place the strike place on the catch, close the panel. This is so you can see that it’s in the correct position. Mark the correct position on the panel with a pencil. Once correct, install the button in position about 6mm from the stile.
How much does installing plantation shutters cost?
If you do it yourself, it’s free! But this really only applies to basic variations and DIY solutions. You can purchase these and simply follow the manufacturer’s instructions and have some beautiful window covers. But if you are getting a more expensive option that are specialised in any way, then you’ll need to call in the experts.
It’s definitely best to buy and install from the same company, as you will probably benefit from a discount through this. Otherwise, you will pay between $60-100 per hour for the installation. The good news is that it should be done pretty quickly as the professional will know what they’re doing. The cost may also depend on the material:
- Low Range: $180-$220 per square metre (PVC)
- Medium Range: $220-$350 per square metre (polymer or faux wood)
- Upper Range: $400-$500 per square metre (hardwood/aluminium)
Get the full Price Guide: Plantation Shutter Cost [2023]
| Material | Cost |
|---|---|
| PVC | $180-$220 per square metre |
| Polymer or faux wood | $220-$350 per square metre |
| Hardwood or aluminium | $400-$500 per square metre |
How can I simplify the installation of plantation shutters?
For premium options at reasonable rates, get in touch with FKR Group. We have 30 years of experience and offer 30-year warranties on custom-made products. Our window coverings feature UV protection to keep out light as needed.
The company has been built around strong customer service, and our positive testimonials from satisfied clients reflect this fact. We even come to your door to give you a free quote in Brisbane, so you don’t have to worry about measurements or getting the right fit for even the most unique windows.
Call now on 0412 872 822 for a free quote and on-site assessment.
Enjoy our most popular Plantation Shutter articles here 👇
- How Much Do Plantation Shutters Cost in Brisbane?
- What Is The Best Material For Plantation Shutters?
- How to Choose the Right Plantation Shutters Colour
- What Are The Pros And Cons Of Plantation Shutters?
- Plantation Shutters vs. Blinds
- 5 Common Plantation Shutter Problems And How To Fix Them
- Can You Put Plantation Shutters On Sliding Doors?
- What to Consider When Buying Living Room Plantation Shutters
- How To Clean Plantation Shutters
- Why White Plantation Shutters Are The Most Popular Choice
- Everything You Need To Know About Plantation Shutters
![How to Choose the Right Plantation Shutters Colour [Simple Guide] 4 How to choose the right plantation shutters colour](https://www.fkrgroup.com.au/wp-content/uploads/2022/08/How-to-choose-the-right-plantation-shutters-colour-01.jpg)
